After a storm hits, one of the first lines of defense for your home is knowing how to tarp a roof after a storm. Mastering the art of securing a tarp over your roof post-storm can shield you from the nightmares of leaks and expensive fix-ups. We’ll walk you through what tools you need, such as roof tarps and wooden boards, and why acting fast makes all the difference. Safety isn’t just an afterthought; it’s paramount. So we’ll cover how to protect yourself with proper gear during the process.
You’re also going to learn when it’s time to call in professional help from roofing contractors for long-term solutions. And once that tarp is up, keeping an eye on its condition ensures your efforts weren’t in vain. Ready? Alright, let’s jump in and tackle these crucial steps side by side.
Understanding the Urgency of Tarping a Roof Post-Storm
After a storm hits, quick action to tarp your damaged roof can be a game-changer. Why? Because it’s about protecting your castle from invaders like water damage and additional repairs that love to sneak in through cracks and crevices. By securing your roof with an emergency roof tarping, you’re essentially putting up a “No Entry” sign for these unwelcome guests.
Rain doesn’t RSVP; it crashes the party uninvited, especially after severe weather or strong winds have left their mark. The immediate benefits of quick action are not just peace of mind but also hard numbers: properly installed roof tarps can shield your home for up to 90 days. Preemptively shielding your abode from moisture’s invasion could pocket you a hefty sum, sidestepping the financial woes insurers may not rush to remedy.
Essential Tools and Materials for Roof Tarping
Gathering Your Supplies Beforehand
Imagine you’re about to patch up your roof with a sturdy tarp after some bad weather. First thing’s first, you need the right gear. Without proper tools, it’s like trying to cook without a pan – possible but messy.
To start, grab a durable roof tarp that can handle more than just a sprinkle of rain. Next on the list are wooden boards; these aren’t for your next DIY project but for securing that tarp down tight. Don’t forget cap nails – they’re like regular nails but with superpowers for holding tarps in place.
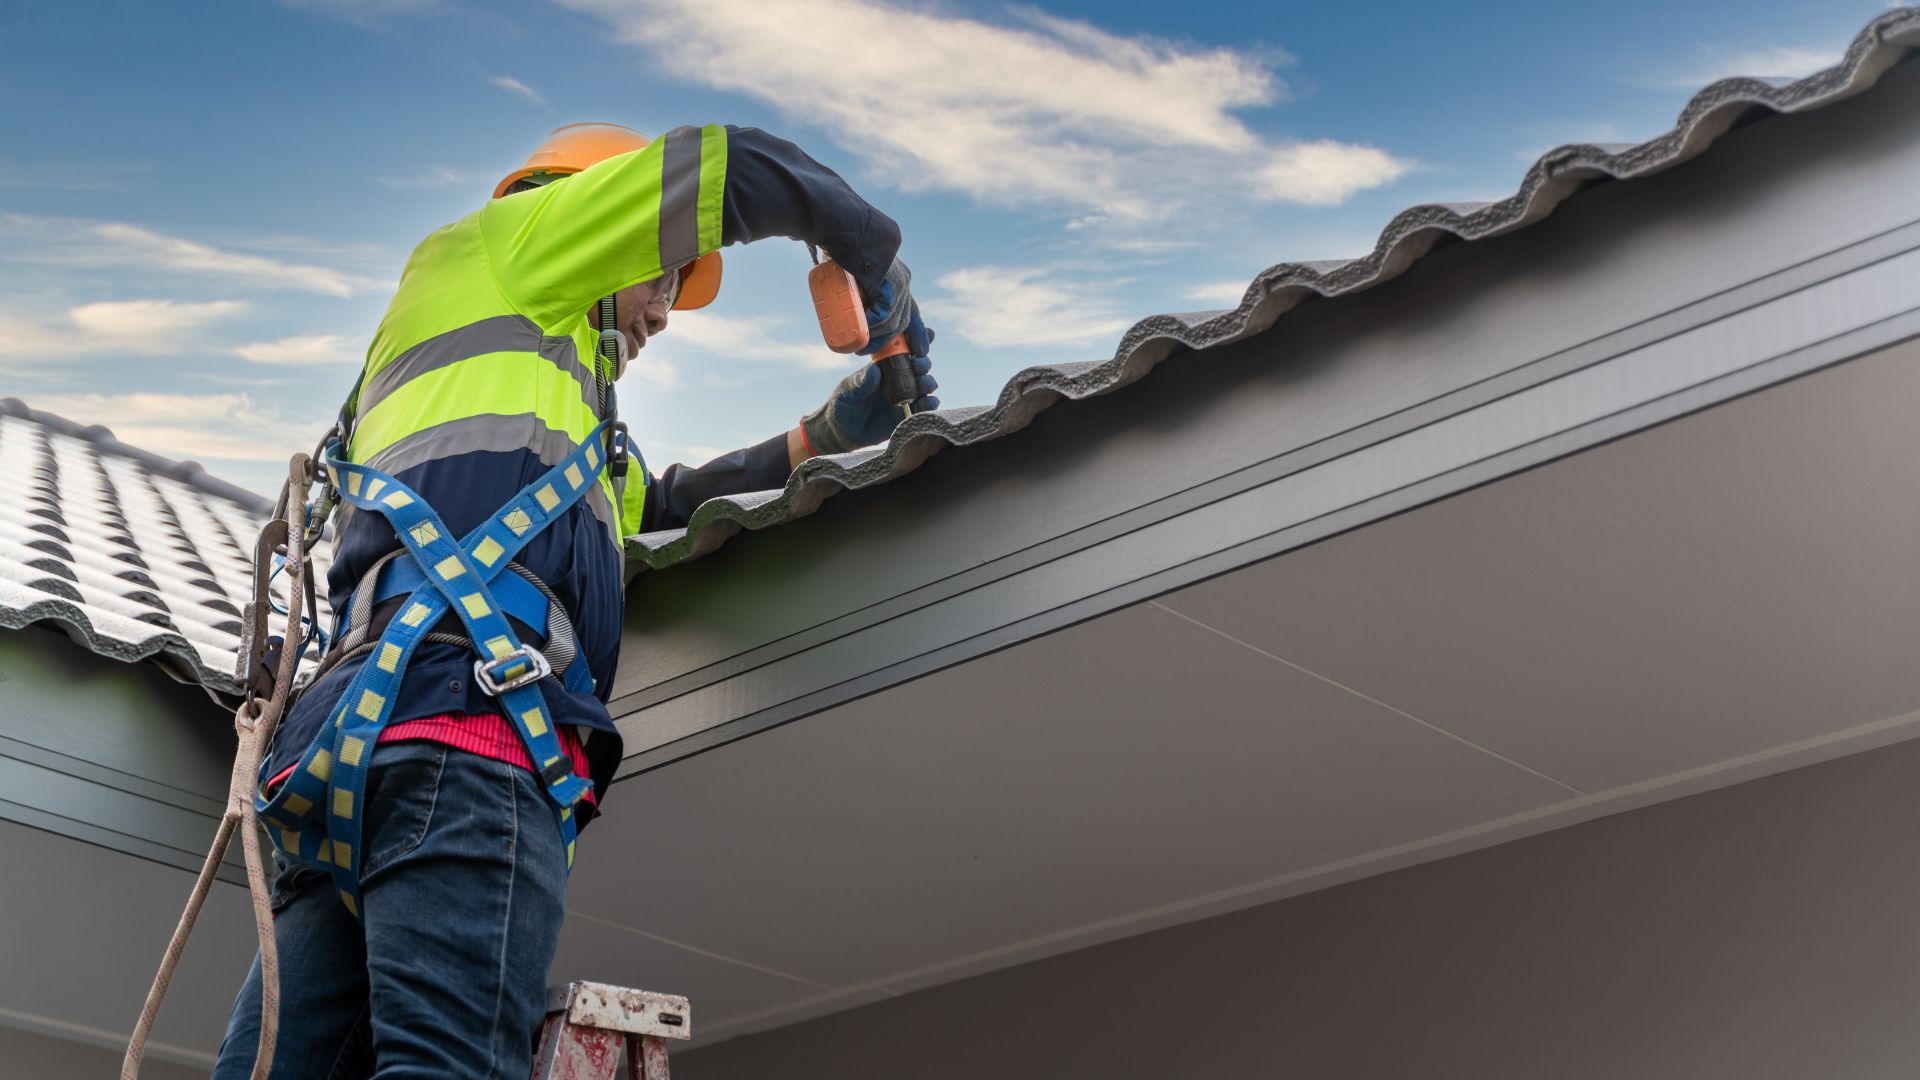
Last but not least, safety equipment is non-negotiable. A slip or fall could turn your roofing adventure into an emergency room visit real quick. So strap on that safety harness and pull those glasses over your eyes because safety always comes first.

Prioritizing Safety During the Tarp Installation Process
Utilizing Proper Safety Gear
Before you climb up to tarp that storm-battered roof, grab your safety harness and glasses. Think of them as your superhero gear – they won’t give you superpowers, but they’ll definitely help keep you safe from a nasty fall or flying debris. Ensuring today’s act of bravery doesn’t evolve into an emergency room saga tomorrow hinges on taking the right precautions.
If bad weather caught your roof off-guard, don’t let it catch you too. Secure yourself with proper safety measures, because balancing on a sloped surface is tricky enough without strong winds playing tug-of-war with your balance.
Weather Considerations
Battling against mother nature requires more than just brawn; it needs brains too. If the skies look angry or if there’s even a hint of bad weather rolling back in, postpone the mission. Tarps can wait; health emergencies caused by reckless bravery cannot.

Step-by-Step Guide to Tarping Your Roof
Tackling a roof tarp after a storm can feel like going into battle against Mother Nature herself. But with the right approach, you’ll come out victorious, keeping water leaks and additional damage at bay.
First off, assess the damage carefully. If there are missing shingles or visible structural harm, note these areas—they dictate where your tarp will go. Remember, tarps can protect for up to 90 days when done right.
Next up is gathering your emergency roof tarping tools: wooden boards (for securing edges), cap nails (they’re weather-resistant friends), and of course, that mighty roof tarp itself. Don’t forget safety gear; this isn’t the time for a hero act without wearing proper protection.
Last but not least—secure that beast. Use wooden boards as anchor points around the damaged area’s perimeter. This method doesn’t just slap on a temporary fix; it ensures your home stays snug and dry until professional repairs kick in. Find all you need here.
Professional Assessment and Repair Following Temporary Tarp Installation
After you’ve managed to place a temporary tarp over your damaged roof, it’s time to think long-term. But how do you know when to call in the professionals? If water leaks persist or if there’s structural damage, those are clear signs. A roofing contractor with a professional team can tackle these issues head-on.
When to Call in Professionals
A DIY emergency roof repair might seem like a quick fix after bad weather hits. However, missing shingles or deeper problems like water entry sources need an expert eye for permanent solutions. It’s not just about slapping on some roofing cement; it’s about understanding what your roof has been through.
An experienced team will assess all aspects of your roof’s damage – from lifted tiles due to strong winds to hidden water intrusion points that could lead to more severe problems down the line. Keep in mind, taking steps now to avert further harm can save you both cash and future aggravation.
Regular Inspection and Maintenance After Tarp Installation
Once you’ve got that tarp securely in place, it’s tempting to just kick back and forget about it. But hold on. Regular checks are crucial to make sure your temporary fix doesn’t turn into a long-term headache. Think of it as keeping an eye on a band-aid – you wouldn’t want it falling off at the first sign of water, right?
Keeping an Eye on Wear Points
Tarps may be tough, but they’re not invincible. High winds can whip them around like sails on the high seas, while sharp edges from damaged roof tiles or roof top equipment can tear through them like hot air rips through… well, anything thin and flimsy. Ensuring the integrity of your protective covers through thorough examination for any signs of deterioration is critical, given their vulnerability to the elements.
You’ll want to check how snugly those tarps are tied down too because loose tarps are about as useful as umbrellas in hurricanes. Use those gallon buckets or lumber pieces wisely when weighing down the edges – they’re your best friends against strong gusts trying to take your tarp for a joyride.
Last but not least: watch out for water puddles collecting atop your makeshift coverings – these water dams could spell disaster by causing additional damage beneath their seemingly harmless surface. Get all the supplies you need here. Because remember folks: An ounce of prevention is worth a pound of cure—especially when dealing with Mother Nature’s aftermath.
FAQs in Relation to How to Tarp a Roof after a Storm
What is the best way to put a tarp on a roof?
To ace it, drape the tarp over the damaged area. Secure its edges with wooden boards and nail them down. Make sure it’s tight.
Can I tarp my own roof?
Yes, you can tackle it solo if you’re comfy climbing up there. Just prioritize your safety and have all supplies ready.
How long will a tarp last on a roof?
A well-placed tarp can hold strong for about 90 days. That buys you time until permanent fixes are done.
How do I temporarily cover my roof?
Cover holes or damage with sturdy tarps secured by wood strips at the edges. It’s quick protection till repairs kick in.
Conclusion
Wrapping up, knowing how to tarp a roof after a storm is your emergency shield against more damage. It’s the first step in turning around what could be a dire situation.
Act fast, but act smart. Gather your tools and materials before you climb. Don’t forget, equipping yourself with safety gear isn’t just a choice; it’s fundamentally necessary.
Covering that damaged area swiftly can save you from water leaks and structural woes down the line. But remember, this fix is temporary.
Getting an expert to look things over makes sure nothing sneaky is causing trouble beneath the surface. Regular checks on the tarp keep small problems from becoming big headaches.
In all these steps, one thing stands clear: preparation pays off. Whether bracing for severe weather or patching up afterward, being ready makes all the difference.
And, if you need assistance, our team is right here to help! Call us at 330-425-1285 or visit https://www.camporoof.com/contact/ to schedule an estimate.


